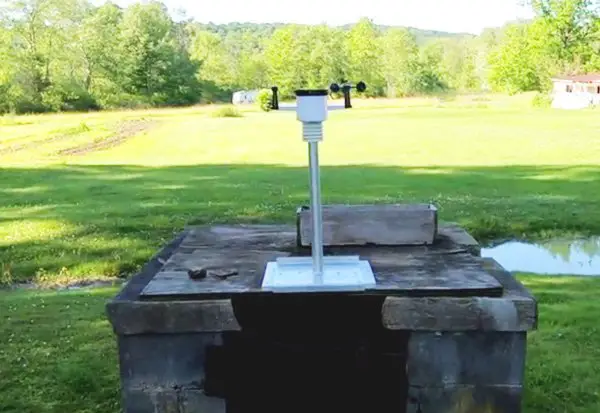
Truth be told, DIY weather stations aren’t going to be as accurate as purchased and reputable weather stations. It all depends on how accurate you make your different pieces.
They’re super fun to make if you’re looking for a home project and you’re not worried about an precise measurements or accurate sensors.
It doesn’t matter whether you’re making a DIY weather station for a science project for your child or you just want to have a little fun.
We’ll take you through the steps of creating 2 pieces to start your own DIY weather station, with building an anemometer and even a wind vane so you can measure wind. All with easy to find and cheap products.
Building an Anemometer
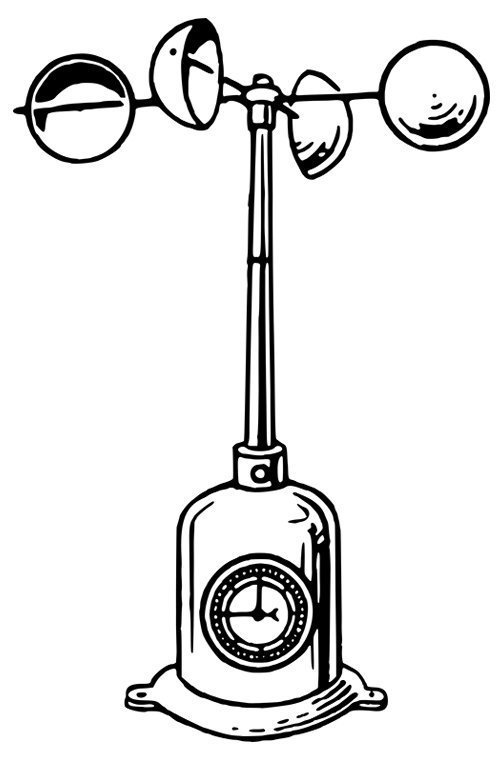
First, we’re going to learn how to build a DIY anemometer to measure the speed of wind!
Materials:
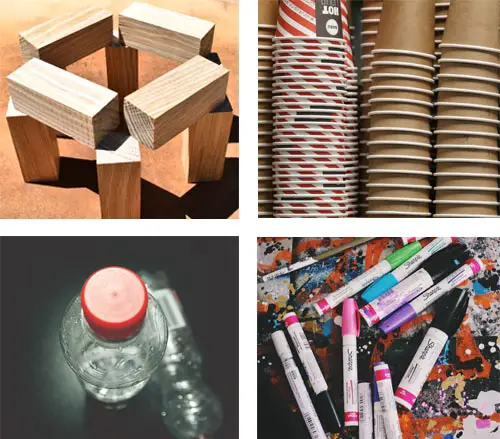
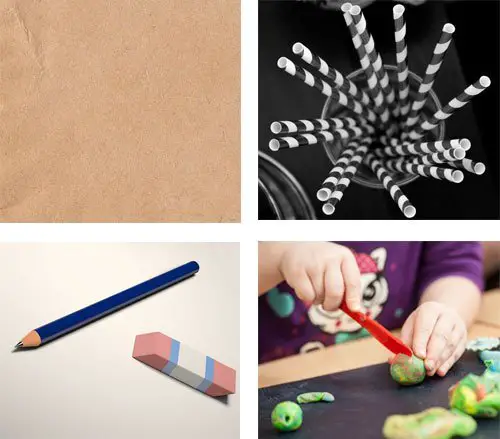
- 5 paper cups in the 3 ounce size, like small Dixie cups
- 3 wooden dowels or 3 soda straws
- Empty water bottle or an empty 20 ounce soda bottle
- Duct tape
- Straight pin (if you’re using straws)
- Paper punch/hole punch
- Marker or colored pencil
- Stopwatch
1. On 1 side of the paper cups, create a hole with your hole punch. These holes should be close to a 1/2 inch below the rim or lip of the paper cup.
2. On the 5th paper cup, punch 4 holes around the cup. Each hole should be as equally spaced as you possible can make it. Punch a hole in the bottom of the cup as well.
3. Slide 2 of the wooden dowels (or soda straws) through the 5th cup so they cross like an X. The paper cup should be facing up.
4. On the ends of the dowels or straws, attach the other 4 cups. Each mouth of each cup should be facing the bottom of the cup next to it. In other words, they’re all facing the same way.
5. If you’re using straws make sure to flatten the ends of the straws that are going through the 4 cups and duct tape it to the inside of the cups. This will keep the cups attached.
6. With the 3rd dowel or straw, insert it through the hole in the bottom of the 5th cup. The end of the dowel or straw should meet the X in the cup.
7. If you’re using soda straws, take a straight pin and push it through the intersection of the 2 straws of the X and the bottom of the straw coming through the bottom of the 5th cup. This keeps the straws together.
8. Place the straw or dowel coming out of the bottom of the 5th cup into the empty water bottle.
How to Use
To use this anemometer, hold the water bowel into the air. Mark a spot on 1 of your spinning cups with a marker or colored pencil. Every time there’s a complete rotation and you see that mark, that’s one revolution.
Count the revolutions it moves in a minute by using an accurate stopwatch.
Once you have your number of spins, multiple your number by the diameter of your anemometer. You will have to measure this.
Revolution x Diameter= Result
Next, times the result of the revolution and diameter by 0.003. The final result is your wind speed in miles per hour.
Result x 0.003= wind speed, mph
Building a Wind Vane
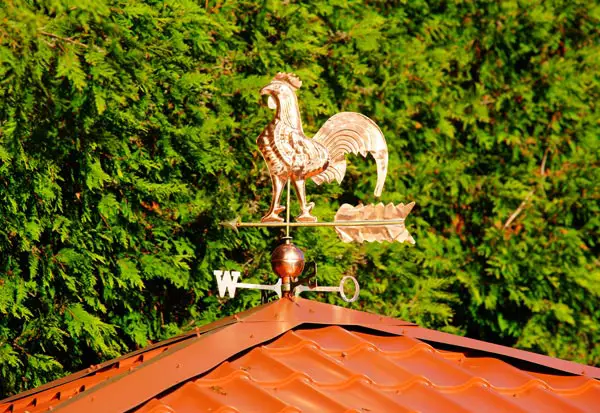
Next, we’re going to create a wind vane!
A weather vane shows the direction in which the wind is blowing, instead of the speed of the wind.
Materials:
- Tag board or thin cardboard
- 1 wooden dowel or soda straw
- Pencil with an eraser
- Modeling clay
- Strong glue (if you’re using a wooden dowel)
- 1 paper plate
- Straight pin (if you’re using a soda straw)
- Scissors
- Serrated knife (if you’re using a wooden dowel)
- Compass
1. On the tag board, draw the point of an arrow that’s about 5 centimeters long.
2. Next, on the tag board, draw the tail of an arrow at about 7 centimeters long.
3. Cut both these shapes out of the tag board.
4. If you’re using a soda straw, cut a small slit on each end of the straws. It should be able to hold your tag board shapes.
5. If you’re using a wooden dowel, you’re going to use a serrated knife to create notches on each end. These notches should be about a 1/2 inch deep.
6. Attach the end of the arrow at one end of the dowel or straw and attach the arrow point on the other end.
7. When you using a soda straw, your next step is to connect the straw and the pencil eraser. To do this, shove the straight pin through the middle of the straw while it’s horizontal, into the eraser of the pencil. You’ll be creating a T.
8. When you’re using a wooden dowel, using a strong wood glue to glue the center of the dowel while it’s horizontal to the eraser of the pencil.
9. Push the modeling clay onto the sharp point of the pencil. Mold it into a small base.
10. Stick the bottom of the base to a paper plate.
Tip: If you want a heavy duty wind vane use a wooden dowel for the arrow and a dowel instead of a pencil. You can drive a nail through the center of the horizontal dowel, into the vertical dowel.
How to Use
Lay your wind vane on a flat and even surface. Use your compass to measure where north is. The point of your arrow should be facing north, so move it as you need to.
As the wind blows, your wind vane is going to spin. It will point to the direction that the wind is blowing.
The Bottom Line
These are fun little projects that you can do with your children to get an understanding of how wind works.
